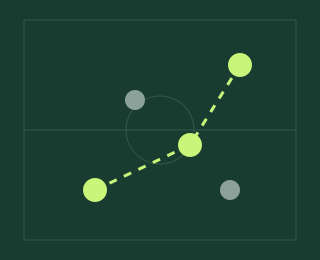
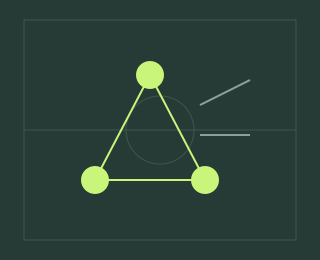
Turn a regain into a controlled counterattack.
Read the first forward option, add a supporting run, and know when to reset instead of forcing a break.
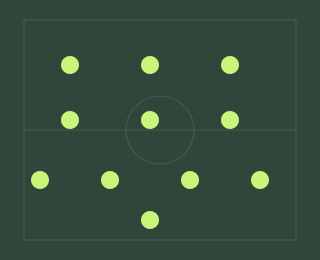
The first pass starts with the first look
Winning the ball creates an opportunity, not an obligation to sprint straight towards goal. Before the next action, scan the receiver ahead, the nearest opponent who can intercept, and a teammate who can support the receiver. A fast pass into an isolated player can end the attack before it has begun.
The aim is to recognise a useful forward route while it exists. This is a decision routine, not a claim about a particular through-ball input or an exploit. Controls, roles and movement differ between editions. Use the control guide in your own game when practising the action you select.
Choose between forward, support and reset
A forward pass makes sense when the receiver can access space and has a realistic next action. If the direct receiver is tightly marked, a nearby supporting pass may change the angle. If both routes are closed, keeping the regain can be more valuable than gambling it immediately. Resetting does not erase the opportunity; it changes the kind of attack you are building.
A player running beyond the ball can be useful without receiving. Their movement may occupy a defender and leave space for the carrier or another teammate. But a diagram of a run is only a plan. Check whether the run happened, whether the passing lane existed, and whether the carrier could actually play the pass.
| What you can see | Choice to consider | Cost to watch |
|---|---|---|
| Receiver facing open space, support nearby | Play forward before the defence settles | A forced pass if the lane closes |
| Direct receiver marked, lateral support free | Use support to change the passing angle | Extra time for the defence to recover |
| Both routes crowded, central cover absent | Keep the ball and rebuild | Giving up the immediate break |
An example with a wide receiver
Imagine you regain possession centrally. Your winger is ahead on the left, the forward is between two defenders, and a midfielder can support underneath. The immediate pass to the winger may work if it reaches the receiver before the fullback closes. On arrival, the winger can carry into space, connect with the forward, or use the supporting midfielder.
Now remove that midfield support. The same first pass leaves the winger with fewer options if the opponent reaches them. The problem was not necessarily that the break lacked pace. It may have lacked a second action. When reviewing the clip, stop at the winger's first touch and name the available choices before watching the outcome.
Keep cover as part of the attack
Sending every nearby player forward can make the first break exciting and the next turnover dangerous. Identify who stays available behind the ball. A supporting position offers both a return route and a possible response if possession changes. It also means one fewer runner immediately attacking the box.
Use the player-jobs framework to decide which position supplies that balance. Do not assume that a high defensive attribute alone provides cover if the player is already ahead of the ball.
Practise recognition before speed
- Save five regains in similar areas of the pitch.
- Pause before your first pass and name forward, support and reset options.
- Review whether the chosen receiver had a useful next action.
- Tag forced passes separately from inaccurate execution.
- Choose one cue for the next session: for example, find the support player before passing wide.
You do not need every break to produce a shot to learn from it. Record whether you retained a useful attack, created a clear chance, or lost the ball immediately. Define those categories before the test so you do not relabel a poor choice just because it led to an unlikely goal.
Know when the break is over
If the opponent has recovered numbers behind the ball and your forward receivers are covered, the transition may have become a settled attack. Continuing to force the original plan can create a turnover against a defence that is now ready. Recycle to support, change the angle, or take the available space instead of trying to preserve the label “counterattack.”
Use the match journal for short observations rather than declaring a new tactic successful from the score alone. If the recurring problem is the final attempt rather than the route into it, continue with the five-clip finishing review. The attack is a chain of decisions; choose the part your evidence actually points to.
One idea. Your next match.
Turn the story into a small experiment with Match Lab. Make one change, keep a note, and see what your matches tell you.
Open Match Lab ↗Original Touchline guide. These are review methods and coaching hypotheses, not official EA advice or guaranteed game mechanics. Editorially reviewed 16 October 2026. Editorial standards · Report a correction. Illustrations are conceptual, not match measurements.